‘Warhammer: The Old World’- How To Play (And Win) The Missions
Take a look at the best way to win the Warhammer: The Old World core missions.
Warhammer: The Old World comes with six core missions. In theory, each game should be played using one of these. You should end up playing each fairly equally. In practice, I think that Mission 1, Open Battle, is the one that most people play. However, I think that is a big mistake. Though the missions may seem very similar at first, there is a nice spread of differences between them that really can help balance some armies out.
Overall, I think playing the missions is a big part of the game. I hope that we get some more missions in the future. For today, however, let’s focus on the ones we have. Take a look at how to play each one and win the core missions.
1. “Open Battle”
Open Battle is the most basic Old World mission you can get. You set up with 24 inches between the armies and then go at it. There are no special rules or extra points. It’s a straight kill fest, and the mission a lot of people never get past. And I get it, it’s easy and simple. There is nothing wrong with that either, its maybe the most pure Old World experience you can get. There is honestly not all that much to say about it as it’s the real baseline here.
To win, you need to kill enemy units and keep yours alive.
2. “Break Point”
Break Point is an amazing mission that I think a lot of people are missing out on. Deployment is a little more close-in and cramped, with only 18 inches separating the armies, each army being pushed in 9″ from the table sides. This can lead to quick and close battles.
At the start of the game, each player calculates their army’s breakpoint; this is effective once they have lost more than 75% of their starting Unit Strength. If you break the enemy army, and yours isn’t – you win!
For this mission, it’s really important to remember that you are starting closer to the enemy than is often the case. In fact, some flying units have a possibility of getting off a first-turn charge if the other player isn’t careful. It’s also an interesting mission because you have to make some careful choices about what enemy units to kill.
Your goal here is to break the enemy by killing a lot of their units, not by beating their best ones. This means that small weak units can be a huge liability here. It also gives you a chance to win games against strong dragon riders without ever needing to fight them. Kill the rest of the army, and you can win. This is something to keep in mind and a great balancing mission.
3. “Flank Attack”
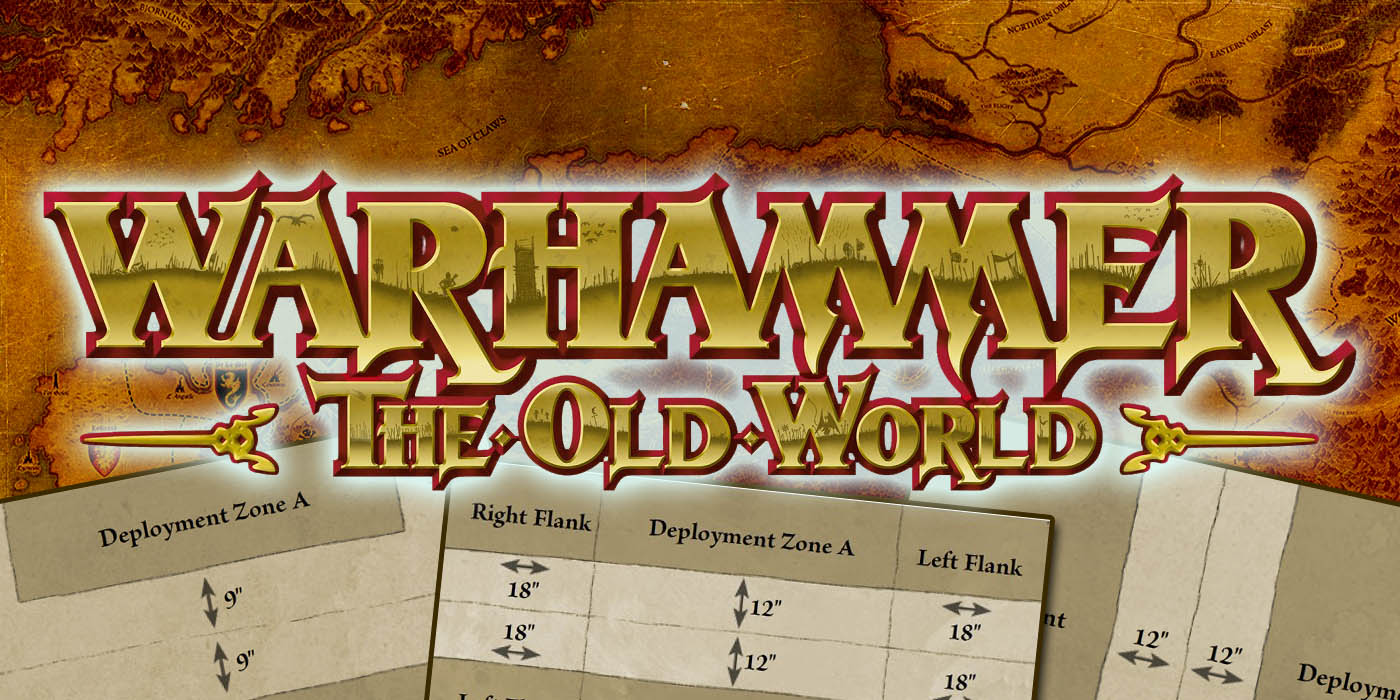
From my favorite Old World mission to my least favorite. Flank Attack is unique for its setup rules. While you set up with the normal 24″ between payers, each player has to block off a left and right flank- taking up 18″ from each side of the table. During deployment, they cannot set up most of their army in the flanks, leading to a pretty cramped center-of-table deployment.
The twist is that before setting up, each player secretly picks a part of their army to be a flanking force and picks which flank they will set up in. After the main part of each army is set up, players then deploy their flanking force.
My issue with the mission is that after setup, it’s just a basic mission, effectively Open Battle. While this can lead to some interesting setups, it doesn’t tend to have a massive effect. I’ve generally seen players set up their center-of-table battle line and then drop one unit and character on a flank.
To me, it’s a lot of extra hoops to jump through in setup for little effect, but it is a bit different. One thing to note is that in this mission, there is no +1 to going first for setting up first, so that can be a bonus for MSU armies. You’ll generally want to have a fast moving part of the army you can stick on the flank.
4. “Meeting Engagement”
Meeting Engagement is another great mission that I worry people are skipping. It might be the most different core mission, but it’s still great. For Deployment Zones, you have a diagonal 12-inch gap between the players, giving you some really interesting armies. You can choose to be super aggressive and have a high chance of first-turn charges.
You can also set up way back and really make the enemy come to you. On top of that, during deployment, you have to roll a die for each unit in your army. This includes each character and warmachine. On a roll of a 1 that unit must be held in reserve and is not set up like normal. Instead, it enters play at the start of any of your turns, other than the first, from your long table edge.
With high rolls this could lead to little to no effect on a game, or it can lead to a really chaotic and crazy game. And that’s great. Flexible and adaptable armies can take this mission in stride. However, those that rely on a really rigid deployment and battle plan can get screwed over. It’s obviously a huge risk for gun lines, where they may lose several turns of shooting. However, you also risk having key characters, such as dragons and wizards, kept off the table or a unit you plan to keep heroes in not showing up, leaving them stranded.
This is a mission you need to stay flexible for. It’s also important to keep in mind that staying off the table isn’t the worst. It can protect you from being shot at. It also allows you to react to and counter enemy moves. Being able to bring in units where they can most hurt the enemy isn’t all bad.
5. “Mountain Pass”
At first, Mountain Pass appears to be a normal Old World mission with just a different setup. While players have a normal 24-inches between their deployment zones, this battle is fought a long way – meaning you normally have a 24-inch deep deployment zone.
To add to that, both the long table edges are impassible and the game is fought with random game length, meaning it could go to 10 turns. On its face, this seems like a great game for gun lines. Setting up deep in your own deployment zone, and the enemy might have 30-ish inches to cross to get to you, giving you a lot of shooting.
While this is true, it’s also a bit simplistic. The key to this mission is to have an army with some kind of good board control. That can be ranged units, magic, or just ultra-fast moving units.
Generally speaking, you want longer than normal threat ranges to make up for the deep deployment zones. This either forces the enemy to come to you across a long distance or allows you to close on the enemy quickly. You may also really want to think about using marching columns or movement spells in this mission. Undead without a good ranged option may be at a massive disadvantage here.
6. “Command & Control”
Command & Control plays very similarly to Open Battle with a pretty standard deployment. However, during setup, you will place a special feature in the center of the table, and control of it is worth an extra 200 VPs over the normal.
Now, it’s important to remember that there are four different special features, and each has different rules. Some are controlled by being near them, others by occupying them. Some can only be attacked by certain types of units. Controlling the feature will give you a total of, depending on the type, 250-300 extra VPs. This is enough to swing a game.
Controlling the special feature really is a huge key to this mission. However it’s important to recall that it’s only who controls it at the end of the battle that matters. While some of the features do give out some bonuses for controlling them, they aren’t always that amazing.
Meanwhile, making an early move to control the feature can either allow the enemy to get off an easy charge or take a unit of yours out of the game for a while. The key here is determining when you need/want to make your move and making a strong and decisive move to grab and hold the feature.
Let us know which is your favorite The Old World mission, down in the comments!